Physical Address
304 North Cardinal St.
Dorchester Center, MA 02124
Physical Address
304 North Cardinal St.
Dorchester Center, MA 02124


So you’ve already blinked some LEDs like a pro? Nice.
But what if we want the LED to fade in and out — like it’s breathing, like it’s alive, like… your ambition every Monday morning?
Let’s make your Arduino control LED brightness smoothly using just a few lines of code. This one’s gonna look slick
This post may contain affiliate links. If you purchase through these links, I may earn a small commission at no extra cost to you. It helps support this blog and keeps the projects coming—thanks for your support!
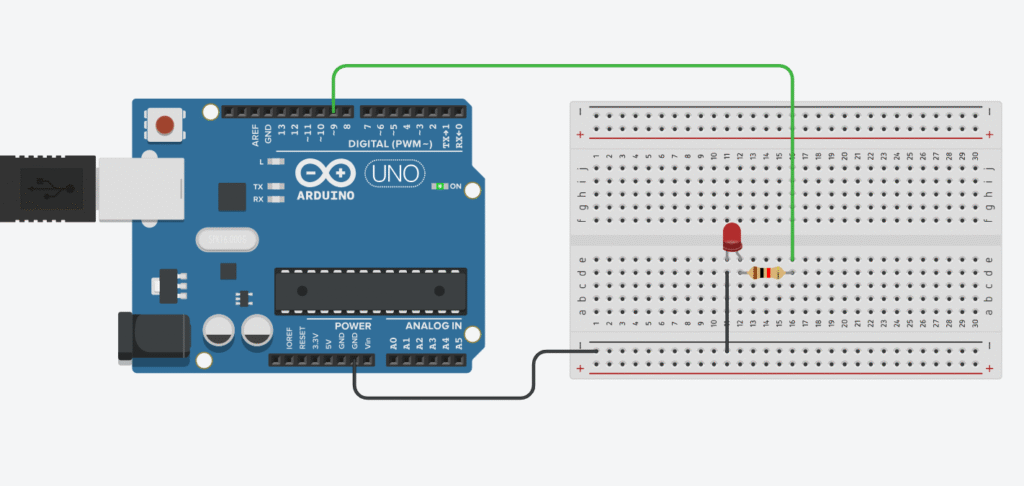
Connect the long leg (anode) of the LED through a 220Ω resistor to pin 9 (or any PWM pin).
The short leg (cathode) goes to GND.
PWM pins on most Arduino boards are marked with a ~ symbol (like 3, 5, 6, 9, 10, 11). We’ll use pin 9 in this example.
Same rule as before:
LEDs don’t limit current → they’ll fry themselves if you don’t help.
So drop a 220Ω resistor in there. Saves the LED. Saves your pin. Saves your day
Here’s a simple sketch that gradually increases and decreases the LED brightness.
int ledPin = 9;       // PWM-capable pin
int brightness = 0;   // LED brightness level
int fadeAmount = 5;   // How much to increase/decrease brightness

void setup() {
  pinMode(ledPin, OUTPUT);
}

void loop() {
  analogWrite(ledPin, brightness);  // Set brightness

  brightness = brightness + fadeAmount;  // Update brightness

  // Reverse direction at the ends
  if (brightness <= 0 || brightness >= 255) {
    fadeAmount = -fadeAmount;
  }

  delay(30);  // Wait before next update
}
This code makes the LED “breathe” — fading from off to fully lit, then back again.
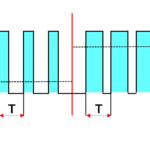
analogWrite(pin, value) sends a PWM signal (fake analog) to the pin0 (off) and 255 (fully on)delay(30) to make the fade slower or fasterfadeAmount = 10 to make the transitions quickerFading an LED isn’t just a cool effect — it’s your entry into the world of analog control.
Once you get this, you’re on your way to dimmable lamps, LED animations, or even custom breathing light effects like a MacBook in sleep mode
Next up? Fading multiple LEDs, or using input to control brightness.
Stick around, it’s gonna get spicy
If you’re just getting started with Arduino, these beginner-friendly kits will help you learn faster and avoid the headache of missing parts. They all include essential components like LEDs, resistors, jumper wires, and an Arduino-compatible board.
💡 Tip: Choose a kit with a good variety of components so you can build multiple projects without buying extra parts later.