1. Introduction to Soldering
Soldering is a very important skill if you want to get into electronics.
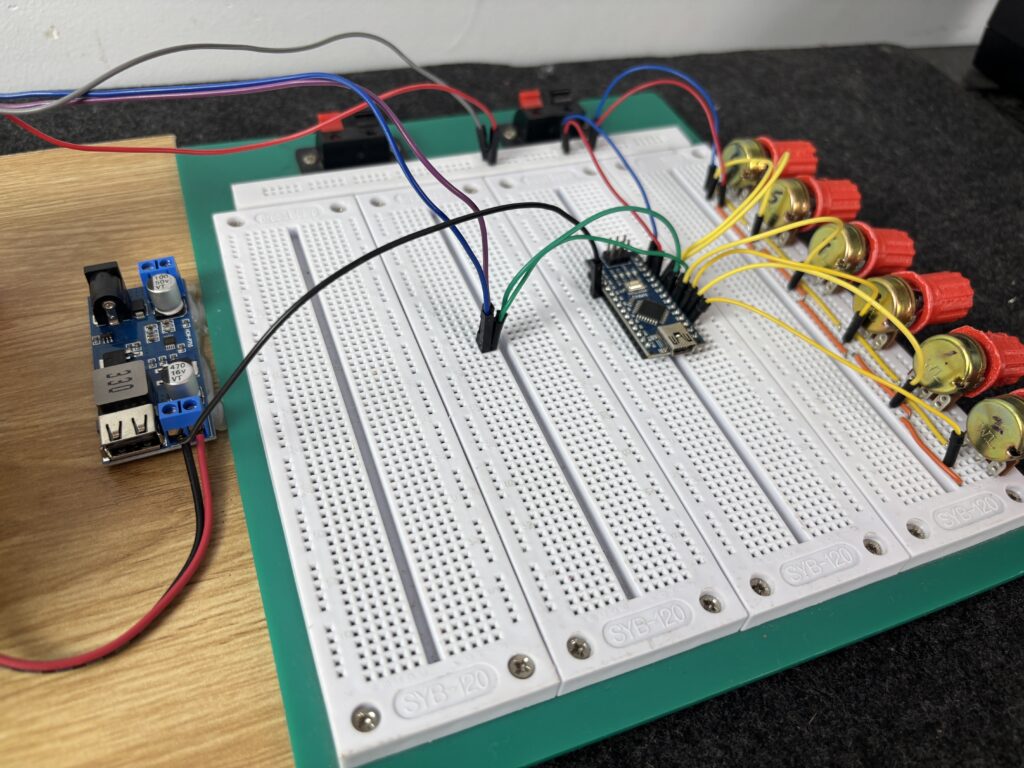
When working on electronics projects, we often start with a breadboard. It’s great for prototyping because you can plug components directly into it without any soldering. This makes it easy to test ideas and make changes whenever needed.
But once your circuit is working the way you want — and you don’t want to deal with a bunch of messy wires anymore — it’s a good idea to move everything to something more solid, like a PCB (Printed Circuit Board).
A PCB keeps everything organized, stable, and helps your project last longer. That’s when knowing how to solder becomes really important — because you’ll need to create strong, permanent connections between your components.
2. What is Soldering?
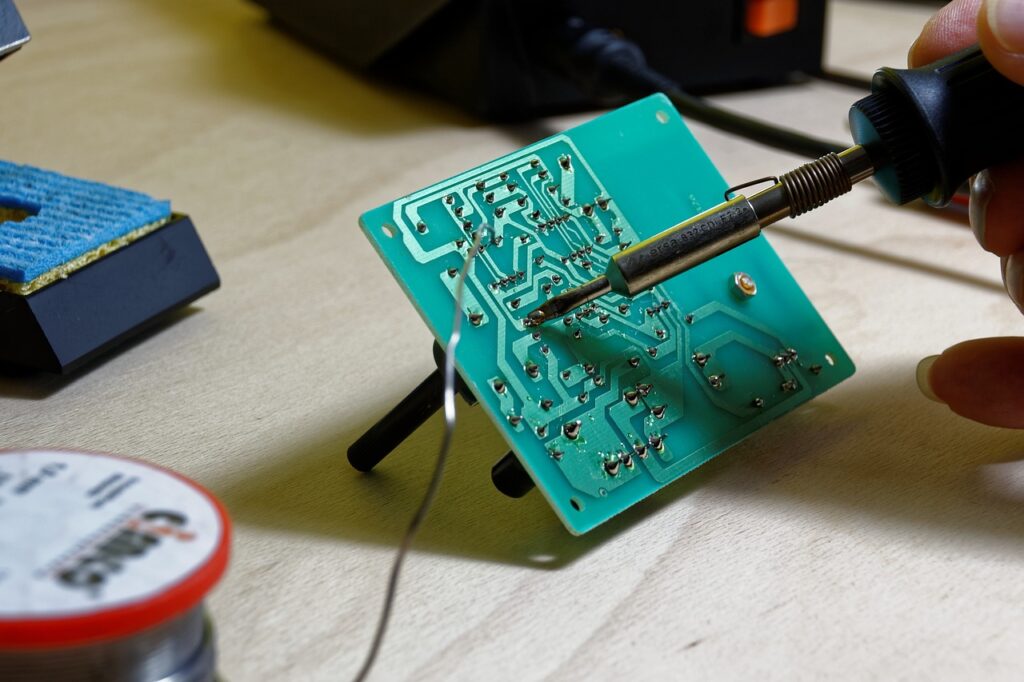
Soldering is the method used to connect two or more electronic components by melting a metal called solder at the connection point. This melted solder fills the gap between the parts and, once it cools down, forms a strong and lasting bond that allows electricity to flow between them. This bond can be both electrical and mechanical, helping keep everything in place.
To get good at soldering, you need two things: practice (a lot of it ) and the right tools. Before we jump into technique, let’s go over the basic tools and materials you’ll need to start soldering properly.
This post may contain affiliate links. If you purchase through these links, I may earn a small commission at no extra cost to you. It helps support this blog and keeps the projects coming—thanks for your support!
If you’ve ever opened up an electronic device and looked at the circuit board, chances are you’ve seen small silver blobs where components are connected — that’s solder at work. While soldering is usually meant to create permanent connections, you can also undo them using a tool called a desoldering pump or braid, which we’ll cover later on.
Breadboarding vs. Soldering: What’s the Difference?
When starting a project, most people begin with a breadboard. It’s quick, reusable, and lets you test your ideas without making anything permanent. You can move wires around, swap components, and try different circuits in just a few minutes.
But breadboards have limitations — the connections can be loose, wires can fall out, and it’s not ideal for long-term use. That’s where soldering comes in.
Soldering creates strong, permanent connections between components. Once soldered onto a PCB (Printed Circuit Board), your project becomes much more durable, compact, and reliable — perfect for final builds or anything you want to keep using.
| Feature | Breadboarding | Soldering |
|---|---|---|
| Purpose | Prototyping & testing | Final builds & long-term use |
| Connections | Temporary | Permanent |
| Reusability | Reusable | Not easily reusable |
| Stability | Loose wires, easy to modify | Fixed components, stable |
| Learning curve | Easy to start | Requires practice |
3. Essential Tools and Materials
Before you start melting any solder, it’s crucial to have the right tools on your desk. I will outline some of the basic tools and materials you will need for most of your soldering process.
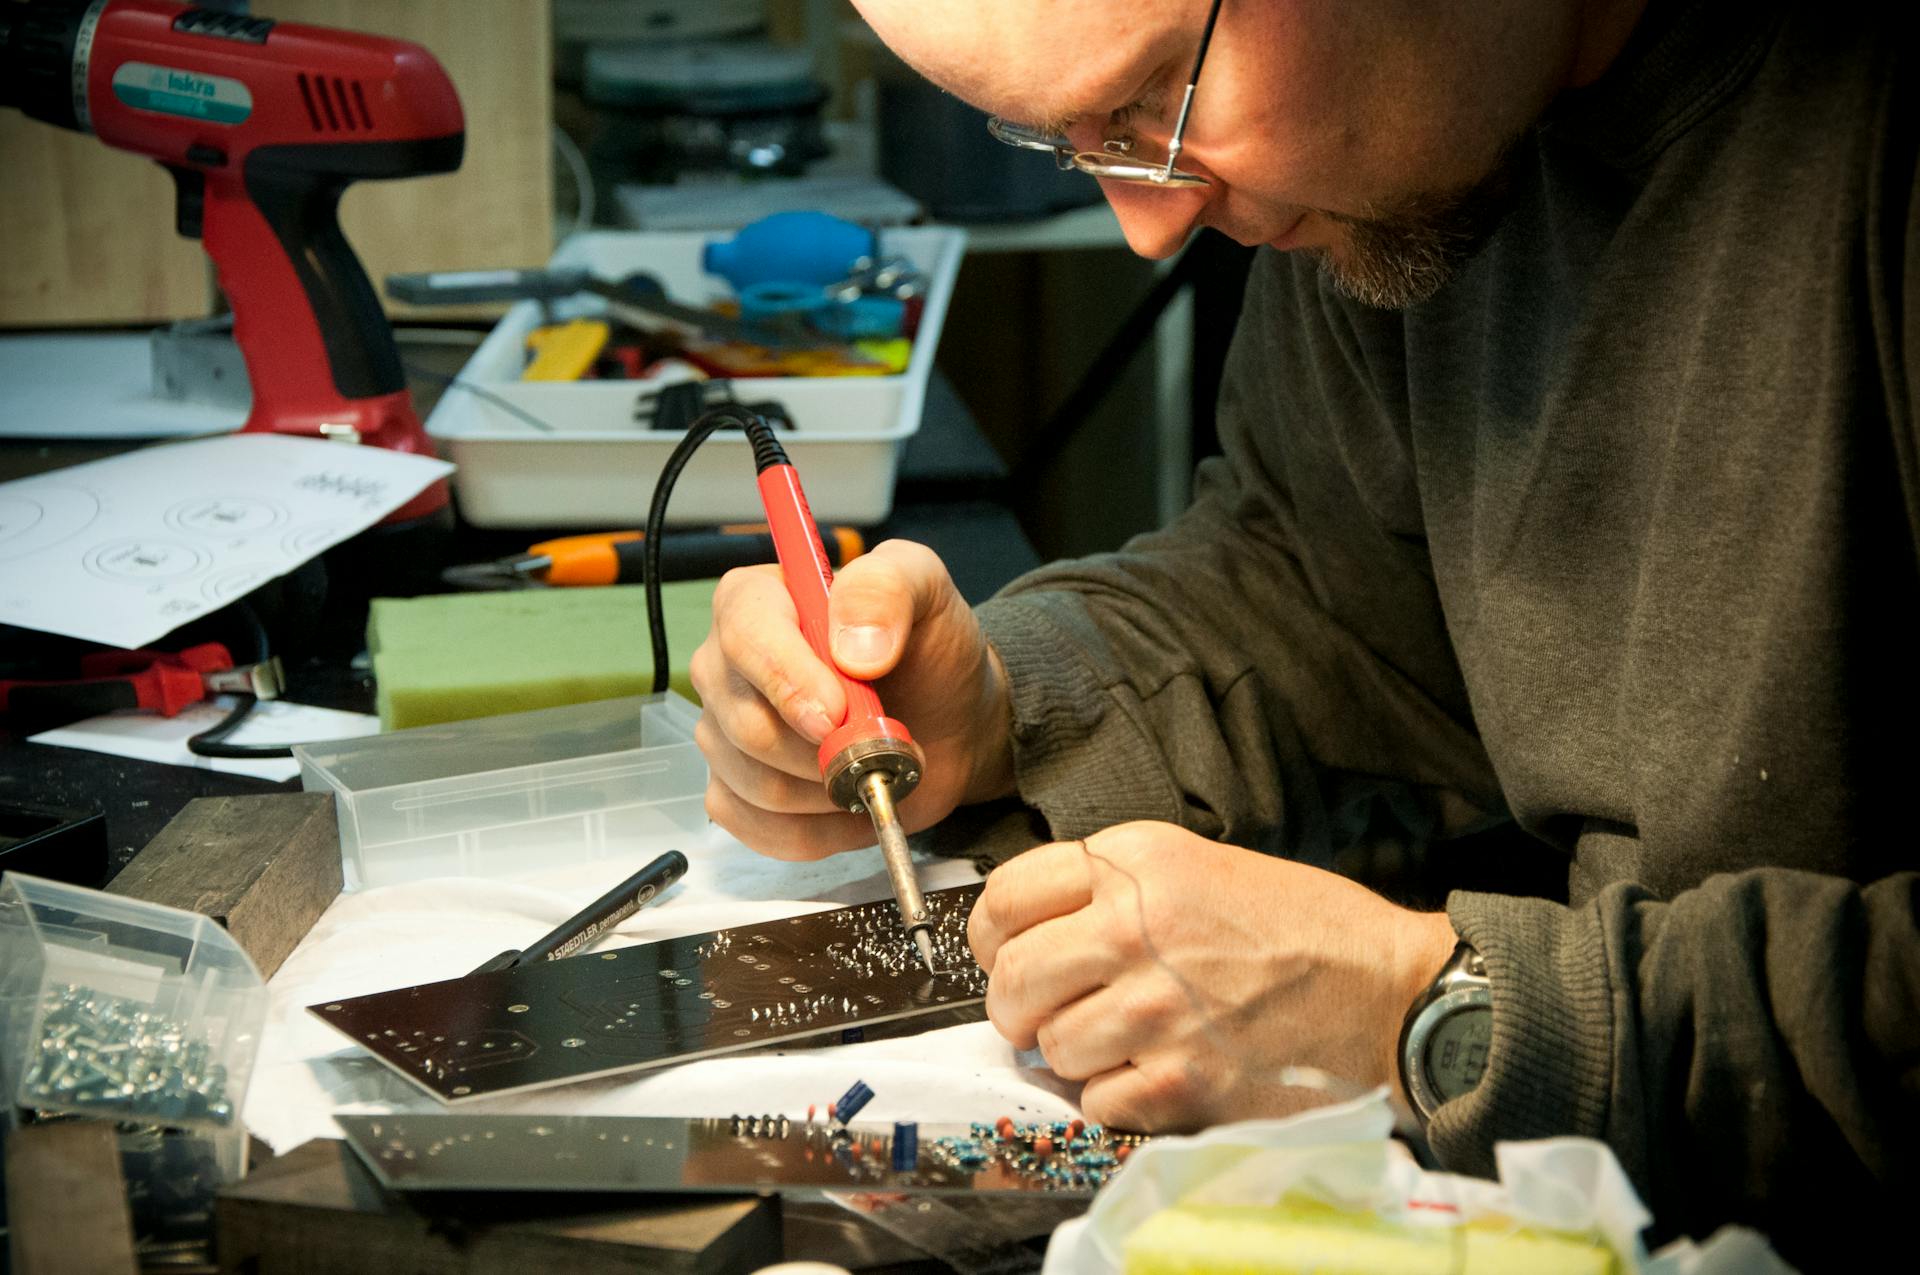
Soldering Iron
A soldering iron is a handheld tool that heats up so you can melt solder and connect electronic parts together. Most soldering irons plug into a standard power outlet (like 110V or 220V depending on your country) and can reach very high temperatures — up to 480°C (around 896°F), so yeah, don’t touch the tip

There are a few types of soldering irons:
- Pen-style: looks like a thick pen, lightweight, perfect for beginners
- Gun-style: usually larger, heats up faster, but not as easy to control for small work
For beginners, a pen-style iron with 15W to 30W is a solid choice. It heats up fast enough for small electronics without risking overheating your components.
Many soldering irons also come with interchangeable tips. You can swap them depending on what you’re working on — from fine-point tips for tiny SMDs to wider tips for thicker wires or larger pads.
Quick tip: Make sure to always return your iron to its stand when not in use. Even a quick accidental touch can leave a nasty burn.
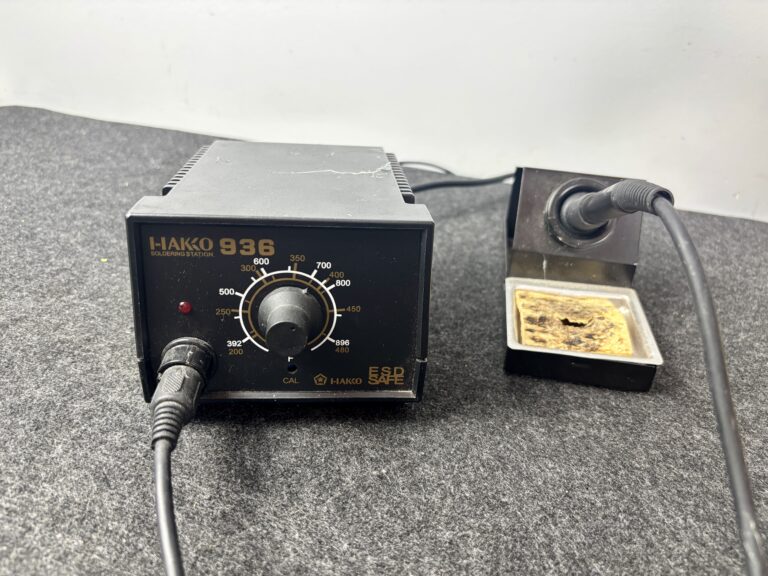
Soldering Station
A soldering station is basically an upgraded version of a regular soldering iron — perfect if you’re planning to do a lot of soldering or want better control over your work.
Unlike a basic pen-style iron that just plugs in and heats up, a soldering station usually comes with a base unit that lets you adjust the temperature precisely. This is super helpful when working on different types of components, since some are heat-sensitive and need a gentler touch.

Most stations also come with extra features like:
- Digital displays for easy temperature control
- Quick heat-up & cooldown times
- Replaceable tips and iron holders
- Some even include temperature sensors, safety alerts, or password protection — especially useful in classrooms or shared workspaces.
If you’re serious about electronics, a soldering station is a great investment that makes your work faster, safer, and more consistent.
Pro tip: Many budget-friendly stations now offer great value — you don’t need to spend a fortune to get one with solid performance.
Soldering Iron Tips
The end of a soldering iron holds a part called the soldering tip — and yes, it’s changeable. Tips come in all shapes and sizes, and each one is made for a different type of job.
Using the right tip for the right task makes your soldering cleaner, faster, and safer. Here are the two most common types of tips used in electronics projects:
- Conical Tip
This one looks like a sharp pencil. It’s great for precise soldering, like working with small components on a crowded PCB. The fine point allows you to apply heat to a tiny area without heating up nearby parts, which is super useful when you’re soldering delicate stuff.
- Chisel Tip
This tip has a flat, wide edge, like a mini screwdriver. It’s perfect for soldering thicker wires, larger pads, or components that need more heat. The broader surface transfers heat more efficiently, so you can work faster on bigger areas.
Most soldering irons let you switch tips easily, so don’t be afraid to try both and see which one feels right for your project.
Tip: Always keep your tips clean — a dirty tip leads to poor heat transfer and ugly solder joints.
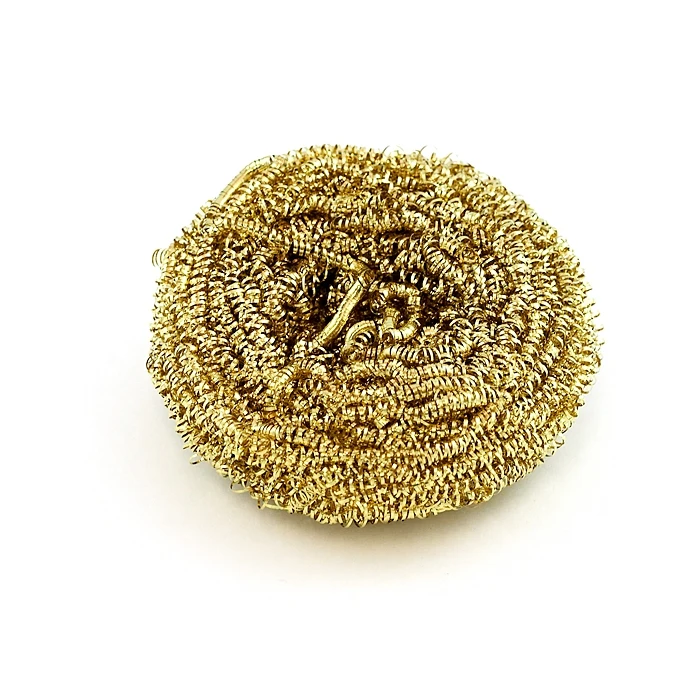
Brass Sponge vs. Wet Sponge – Which One’s Better?
To keep your soldering iron working well, you need to clean the tip regularly. Over time, the tip will start to oxidize (turn black), and when that happens, it won’t hold solder properly.
There are two main ways to clean the tip: a wet sponge or a brass sponge.
Wet Sponge
This is the traditional option — just dampen a regular sponge and wipe the tip on it. It works, but it has a few downsides:
- The sudden cooling from the wet sponge can lower the tip’s temperature
- The constant heating and cooling can cause the tip to wear out faster over time

Brass Sponge (or Brass Wool)
This is a better choice for most people. Brass sponges clean the tip without using water, so the temperature stays stable. They also don’t cause thermal shock, which means your tip lasts longer.
Pro tip: Clean the tip every time before and after soldering — it helps keep your joints clean and makes your solder flow better.
Soldering Iron Stand
It might look simple, but a soldering iron stand is one of those tools you don’t want to skip. It gives your hot iron a safe place to rest while you’re working — which means no burning your desk, wires, or fingers by accident.
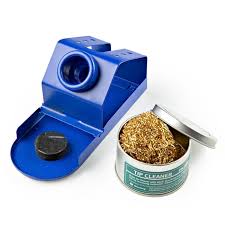
Most soldering stations already come with a built-in stand, and they usually include a sponge or brass wool holder for cleaning the tip. But if you’re using a basic soldering iron (not part of a station), make sure you get a proper stand to go with it.
Why it’s important:
Leaving a hot iron just lying on the table is a recipe for disaster. A stand keeps your workspace safe and helps you stay focused on your project — not on dodging hot metal.
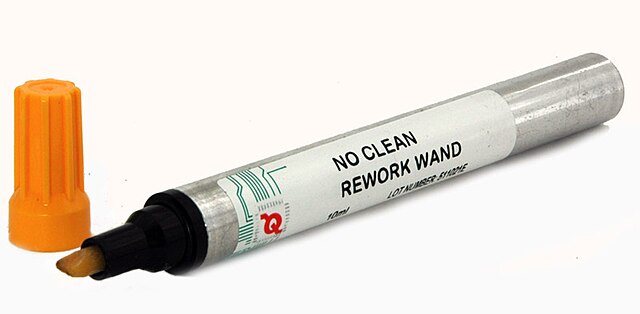
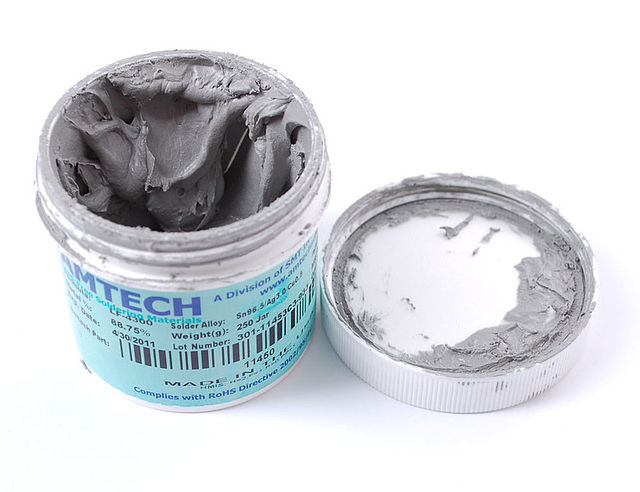
Solder
Solder is a type of metal alloy that melts when heated and is used to form a permanent connection between electronic parts. It acts like a metallic glue that holds your components in place while also allowing electricity to flow between them.
There are two main types: lead-based and lead-free solder. Both are available in different thicknesses — the most common being 0.032″ and 0.062″.
Inside most solder wires, you’ll find something called flux — this is a chemical that helps the solder flow better, improves the electrical connection, and strengthens the joint.
For electronics work:
The most popular choice is lead-free rosin core solder, usually made from a tin and copper alloy. It’s safer for your health and more eco-friendly. That said, some people still use 60/40 leaded solder (60% tin, 40% lead) because it melts more easily and flows better — but you’ll need good ventilation, and remember to wash your hands after handling it.
Important: Don’t use acid core solder — it’s meant for plumbing and metal work, not electronics. It can corrode your PCB and damage your components.
Solder thickness:
- 0.062″ is good for larger joints — it melts faster and fills more space
- 0.032″ is better for small or delicate parts — easier to control and less messy
Pro tip: Keep both sizes around. Having options helps when you’re switching between big power wires and tiny Arduino headers.
Helping Hand (a.k.a Third Hand Tool)
Ever wish you had an extra hand while soldering? That’s exactly what the Helping Hand is for.
This handy little tool usually comes with two or more alligator clips mounted on adjustable arms and often includes a magnifying glass or even a built-in light. The clips can securely hold wires, components, or small PCBs in place, so you can focus on soldering without having to juggle everything at once.
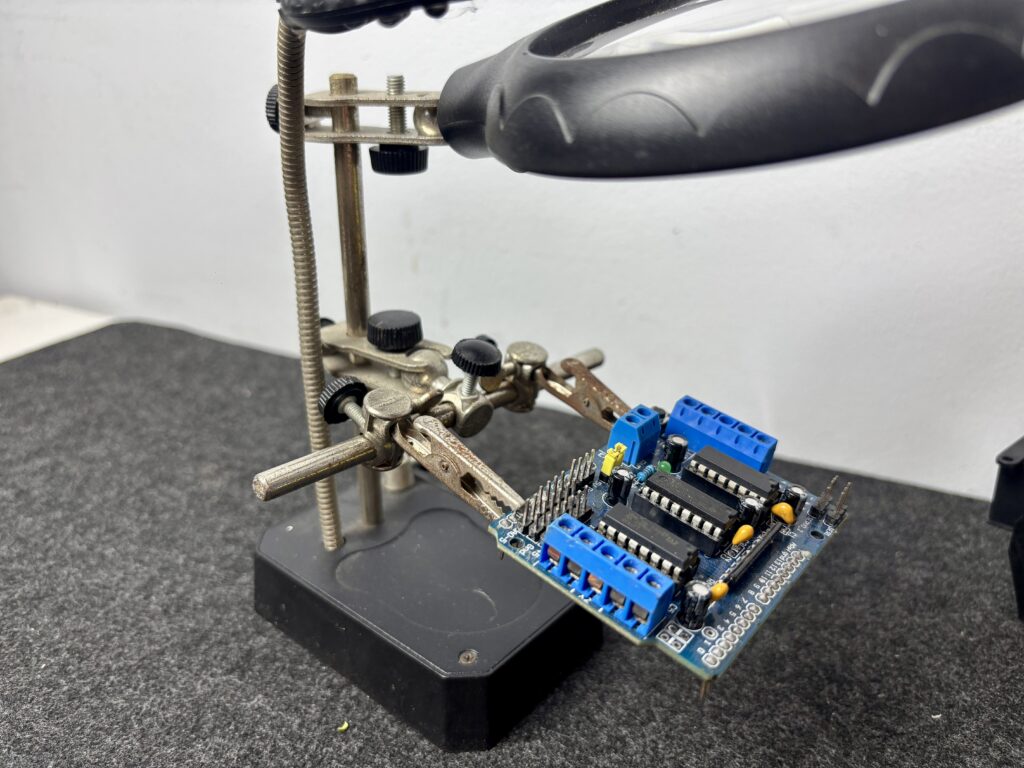
It’s especially useful when you’re working on small parts or delicate solder joints where precision matters.
Why it’s worth having:
It keeps your work steady, reduces mistakes, and seriously lowers the chances of burning your fingers when trying to hold wires and solder at the same time.
If you’re planning to build even just a few electronics projects, a helping hand is a small investment that makes a big difference in your workspace.
Soldering Safety Tips
Now that you’ve got your tools ready, let’s quickly talk about how to stay safe while soldering. Trust me, a bit of caution goes a long way — especially when working with something that gets hot enough to fry an egg… or your fingertip .
Keep track of your iron
Soldering irons can heat up to 800°F (over 400°C), so always know where the tip is. Never leave it resting on the table — use a proper stand to avoid accidental burns or melting stuff around you.
Work in a well-ventilated area
When solder melts, it gives off fumes — and breathing them in isn’t great for your health. Open a window, turn on a small fan, or better yet, use a fume extractor. These little fans with carbon filters help pull harmful smoke away from your face while you work.
Wash your hands afterward
Especially if you’re using lead-based solder, make sure to wash your hands when you’re done. No need to panic — just basic hygiene to avoid getting anything toxic into your system.
Eye protection is a smart move
Hot solder can occasionally splatter. Wearing safety glasses might seem like overkill, but it’s better than getting a drop of molten metal in your eye.
Bottom line:
Soldering is totally safe as long as you stay aware of your surroundings and use common sense. Safety first, burns and smoke second.