Introduction
In Arduino projects, you’ll often need to read signals from sensors or control the brightness of an LED. That’s where analogRead() and analogWrite() come in.
These two functions let you interact with the real world — by reading sensor input and controlling devices like LEDs, motors, or buzzers.
In this guide, you’ll learn what they do, how they work, and see some beginner-friendly examples to help you get started.
This post may contain affiliate links. If you purchase through these links, I may earn a small commission at no extra cost to you. It helps support this blog and keeps the projects coming—thanks for your support!
What is analogRead()?
- Used to read analog voltage (0–5V)
- Syntax:
analogRead(pin) - Returns a value between 0 and 1023
- Only works on analog pins (A0 to A5)
Example:
Read value from a potentiometer (or light sensor):
int sensorValue = analogRead(A0);
Serial.println(sensorValue);
Practical use: Get values from LDR (light sensor), TMP36 (temperature sensor), etc.
What is analogWrite()?
- Used to simulate analog output using PWM
- Syntax:
analogWrite(pin, value) - Value ranges from 0 (off) to 255 (full on)
- Only works on PWM pins (~3, ~5, ~6, ~9, ~10, ~11)
Example:
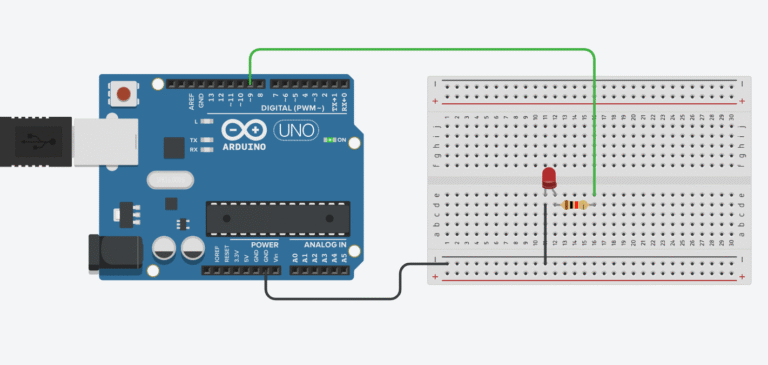
Dim an LED using PWM:
analogWrite(9, 128); // LED at 50% brightness
Practical use: Control LED brightness, motor speed, buzzer tone, etc.
Common Mistakes
- Using analogWrite on non-PWM pin → nothing happens
- Forgetting that analogRead gives 0–1023, but analogWrite takes 0–255
- Mixing up pin numbers (A0 ≠ 0)
Real-World Project Idea
- Read a value from a potentiometer (analogRead)
- Use that value to control LED brightness (analogWrite)
// Define pin connections
const int potPin = A0;   // Analog pin connected to the potentiometer
const int ledPin = 9;    // PWM pin connected to the LED

void setup() {
  pinMode(ledPin, OUTPUT); // Set the LED pin as output
}

void loop() {
  int potValue = analogRead(potPin);              // Read the analog value from the potentiometer (0–1023)
  int brightness = map(potValue, 0, 1023, 0, 255); // Map it to a range suitable for PWM (0–255)

  analogWrite(ledPin, brightness);                // Set the LED brightness
}

Link to TinkerCad
Recommended Parts
Final Thoughts
Now that you understand how analogRead() and analogWrite() work, try combining them in your own project, like a light-sensitive night lamp, or a dial-controlled fan.
Got stuck? Let me know — I’ve probably made the same mistake before.


