So you’ve mastered the basic LED blink using delay(). Feels good, right? But here’s the thing: delay() is kind of a beginner trap. It stops everything while it waits — like freezing your whole code just to blink a light.
What if you want to blink an LED and read a button? Or update a sensor at the same time? That’s where millis() comes in — and where you level up.
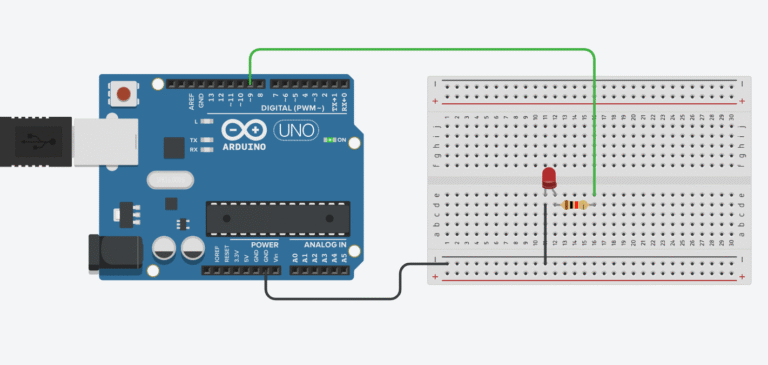
This is the classic “Blink Without Delay” sketch. Let’s break it down.
What you need :
- Arduino Uno Starter Kit
- Bread Board
- Jumper Wires
- 5mm LEDs Assortment Pack
- Resistors ( 220 ohms recommended)
This post may contain affiliate links. If you purchase through these links, I may earn a small commission at no extra cost to you. It helps support this blog and keeps the projects coming—thanks for your support!
Why Not Use delay()?
When you use delay(1000);, your entire program does nothing for 1 second. Literally nothing. Can’t read buttons. Can’t talk to sensors. Just vibes.
If you want non-blocking code — code that keeps doing things in the background — you need a smarter way.
Enter millis()
millis() is a built-in function that returns the number of milliseconds since your Arduino started running.
Think of it like a stopwatch. Instead of pausing with delay(), you check the time and act when enough time has passed.
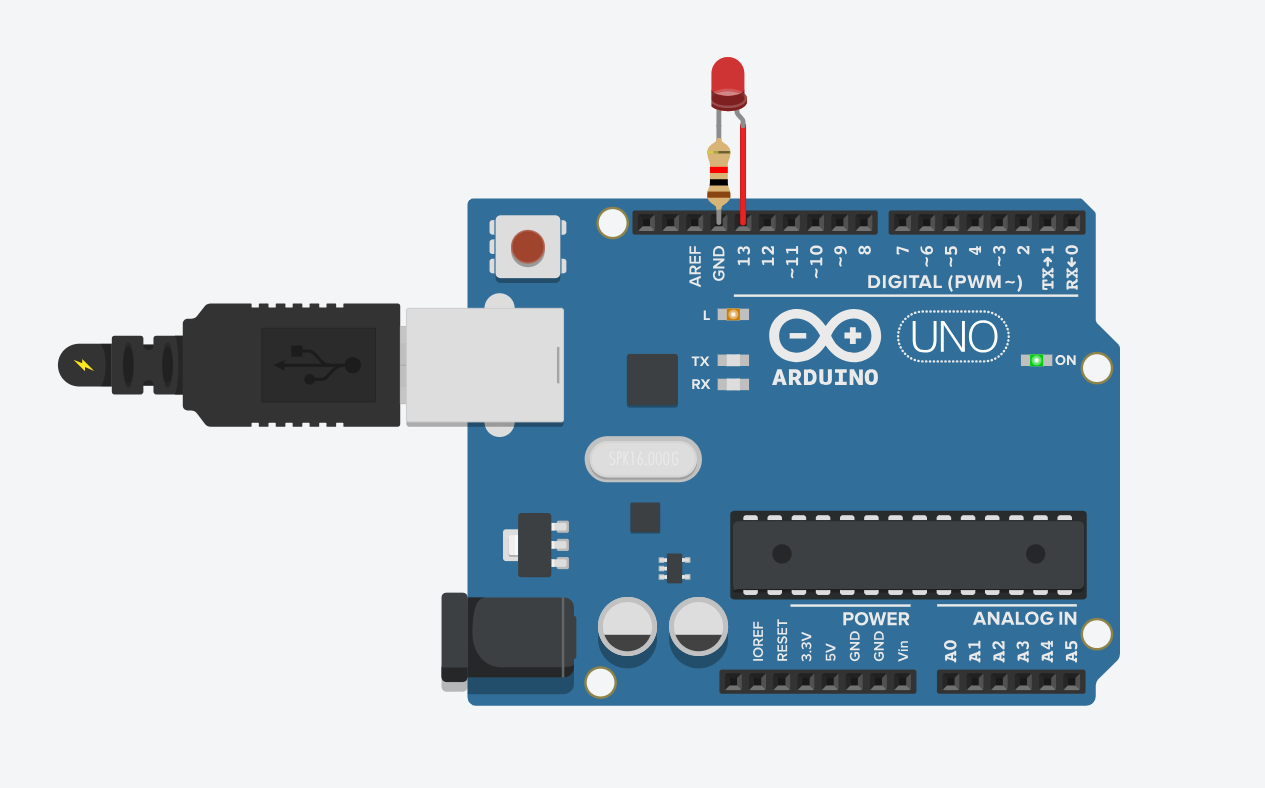
Blink Without Delay Code
const int ledPin = 13;         // LED connected to digital pin 13
unsigned long previousMillis = 0;  // stores last time LED was updated
const long interval = 1000;        // interval at which to blink (ms)

void setup() {
  pinMode(ledPin, OUTPUT);
}

void loop() {
  unsigned long currentMillis = millis();

  if (currentMillis - previousMillis >= interval) {
    previousMillis = currentMillis;

    // if the LED is off turn it on and vice-versa:
    digitalWrite(ledPin, !digitalRead(ledPin));
  }
}
Code Breakdown
millis()gives us the current time- We compare it with
previousMillis(the last time we blinked) - If enough time has passed (
interval), we toggle the LED - No
delay()— so the rest of your code keeps running
digitalWrite(ledPin, !digitalRead(ledPin)); just flips the LED state. You can also use a separate variable if you prefer.
Why This is a Big Deal
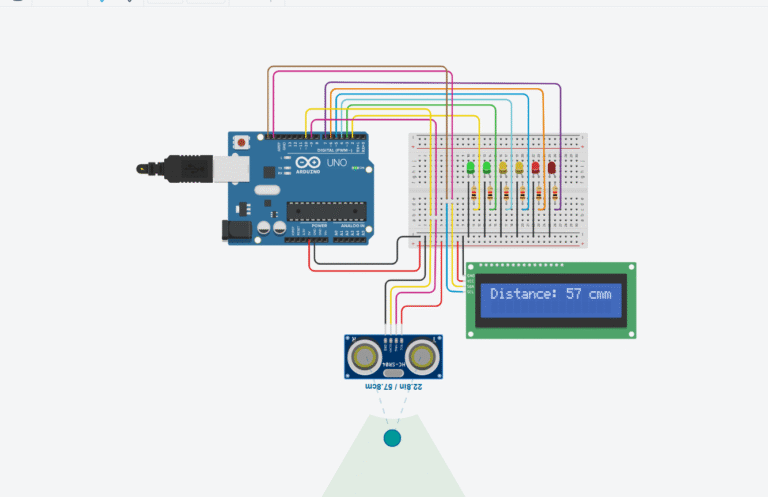
This isn’t just blinking smarter — it’s how you write real programs:
- Read sensors while blinking LEDs
- Handle buttons and display updates simultaneously
- Avoid freezing your whole system with
delay()
If delay() is training wheels, then millis() is when you start popping wheelies.

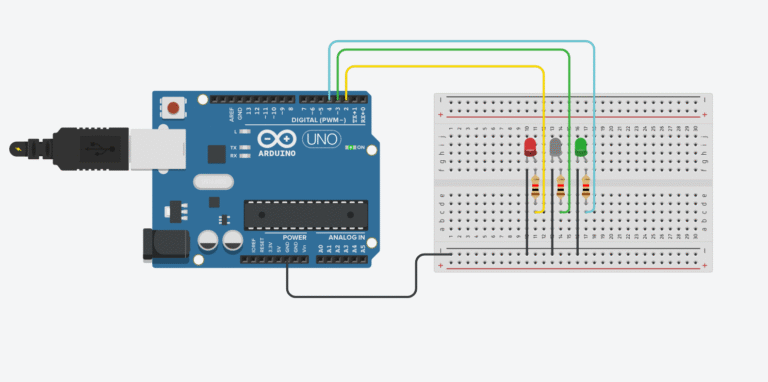
Bonus: Multi-Tasking Blink
Want to blink two LEDs at different speeds? You can do it easily with millis():
// LED 1 - blinks every 500ms
// LED 2 - blinks every 1000ms

const int led1 = 9;
const int led2 = 10;
unsigned long prev1 = 0;
unsigned long prev2 = 0;
const long int1 = 500;
const long int2 = 1000;

void setup() {
  pinMode(led1, OUTPUT);
  pinMode(led2, OUTPUT);
}

void loop() {
  unsigned long now = millis();

  if (now - prev1 >= int1) {
    prev1 = now;
    digitalWrite(led1, !digitalRead(led1));
  }

  if (now - prev2 >= int2) {
    prev2 = now;
    digitalWrite(led2, !digitalRead(led2));
  }
}
Boom. Two LEDs, different speeds, zero delays.
Final Thoughts
“Blink Without Delay” isn’t just a fancy way to blink LEDs — it’s the foundation of multitasking with Arduino.
Learn it well and you’ll unlock a whole new level: from juggling inputs and outputs, to running real-time systems and making responsive projects.
Time to ditch the delay — and code like a boss
🔧 Recommended Arduino Starter Kits for Beginners
If you’re just getting started with Arduino, these beginner-friendly kits will help you learn faster and avoid the headache of missing parts. They all include essential components like LEDs, resistors, jumper wires, and an Arduino-compatible board.
- Arduino Official Starter Kit
Includes a genuine Arduino UNO board, project book, and components for 15+ tutorials.
👉 Check it on Amazon - Elegoo UNO R3 Super Starter Kit
Affordable and packed with sensors, LEDs, motors, and wires — great value.
👉 View the Elegoo Kit - Freenove Ultimate Starter Kit
Includes 200+ components, an Arduino-compatible board, and 50+ example projects.
👉 See the Freenove Kit
💡 Tip: Choose a kit with a good variety of components so you can build multiple projects without buying extra parts later.