So you just got your first 3D printer—nice! But let’s be real: unboxing a giant piece of machinery with wires, moving parts, and no idea what does what? That can be intimidating.
Don’t worry.
This guide is designed to walk you through every step, from unboxing to your first successful print. I’ll break it down so clearly that even if you’ve never touched a 3D printer before, you’ll finish this tutorial with confidence (and hopefully a cute little Benchy in your hand).
Part 1: Unboxing and Initial Inspection
Step-by-step:
- Clear a clean, flat surface where you’ll set up the printer.
- Open the box carefully. Avoid using knives too deep—it’s easy to accidentally slice wires or belts.
- Take out each component and lay them out in order. Most beginner-friendly printers include:
- Base frame with bed attached
- Gantry (vertical frame)
- Spool holder
- Display screen
- Cables & zip ties
- Tools (Allen keys, wrench, nozzle cleaner)
- Filament sample (if included)
Check for damage like bent metal, cracked plastic, or loose belts. Contact the seller immediately if anything looks broken.
Part 2: Assembling the Printer
Example: Anycubic Kobra 2 Neo or Ender 3
- Attach the gantry to the base using the screws provided. Use the Allen keys that came in the box.
- Secure the Z-axis upright supports.
- Connect the screen (usually with a ribbon cable) and attach it to the side bracket.
- Plug in the stepper motors and limit switches. Each wire is often labeled (X, Y, Z, E).
- Install the filament holder, usually by snapping or screwing it into the top or side of the frame.
- Check belt tension—they should be snug but not overly tight.
- Ensure the print bed slides smoothly by manually moving the bed back and forth.
Part 3: Initial Power-On and Firmware Setup
Before plugging it in:
- Double-check all cable connections.
- Make sure the power supply switch is set to your country’s voltage (115V or 230V).
Then:
- Plug the printer into a grounded power outlet.
- Flip the power switch.
- The screen should light up with the printer’s main menu.
If nothing happens: check the fuse, switch position, or try another outlet.
Part 4: Bed Leveling (Critical for First Layer Success)
Why it matters:
If the bed is too far from the nozzle → filament won’t stick.
If it’s too close → the nozzle will scratch the bed or clog.
Manual Leveling (Most printers):
- Go to Prepare → Disable Steppers so you can move the bed freely.
- Move the nozzle to each corner and use a piece of paper as a gauge.
- Slide the paper between nozzle and bed:
- You should feel slight resistance when pulling the paper.
- Too tight = lower the bed
- Too loose = raise the bed
- Repeat for all 4 corners and the center.
Auto Bed Leveling (If your printer has a sensor):
- Select Auto Leveling in the printer menu.
- Let it probe all points of the bed.
- Then set your Z-offset—this tells the printer how far the nozzle is from the bed at “zero.”
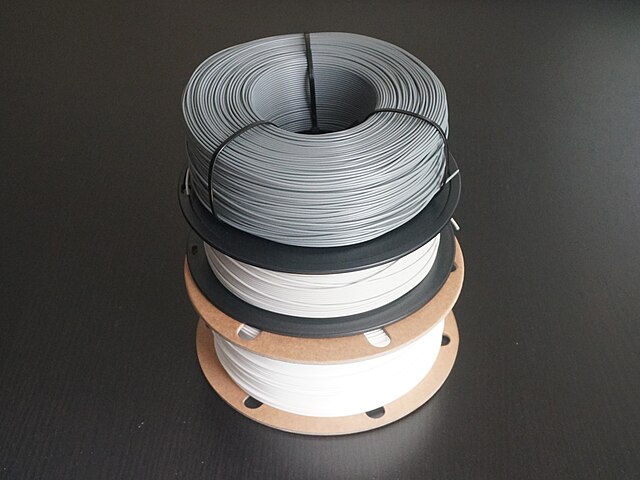
Part 5: Load Filament
- Preheat the nozzle to 200°C for PLA (or as recommended).
- Cut the filament end at a 45° angle for easier feeding.
- Manually insert the filament into the extruder until it starts extruding through the nozzle.
- If your printer has a direct-drive setup, this is usually faster. If it’s Bowden-style, push through the PTFE tube until it reaches the hotend.
Note: Always unload filament when changing colors or materials.
Part 6: Install and Configure a Slicer
Recommended slicers:
- Cura – best all-rounder, supported by most printers
- PrusaSlicer – great for precision prints
- Bambu Studio – if using Bambu printers
Setup:
- Download and install the slicer.
- Add your printer profile from the slicer’s printer list.
- Import a test STL file (e.g., “3DBenchy” or calibration cube).
- Set basic parameters:
- Layer height: 0.2mm
- Infill: 15%
- Supports: off (for now)
- Temperature: 200°C nozzle / 60°C bed
- Slice the model → export as
.gcode
Part 7: Start Your First Print
- Copy the
.gcodefile to your SD card or USB stick. - Insert it into the printer.
- From the printer’s menu, choose Print → [Your File]
- Watch the first 2 layers closely:
- If it’s not sticking: stop print and re-level bed.
- If it’s too squished: adjust Z-offset slightly higher.
Your first print will usually take 30–60 minutes.
Part 8: Post-Print Cleanup
- Let the bed cool before removing the model. Some materials (like PLA) will detach easier after cooling.
- Use a plastic scraper to avoid damaging the bed.
- Clip off any “strings” or blobs from the model.
- Power off the printer.
Tips for First-Time Users
- Avoid ABS for your first few prints—it requires a heated enclosure and smells bad.
- Always clean the bed with isopropyl alcohol before printing.
- Keep the nozzle clean—run a cold pull every few prints to avoid clogs.
- Check belt tension and screws weekly.
Recommended Beginner Gear
All links may include affiliate tracking. If you make a purchase, I might earn a small commission (at no extra cost to you)—thanks for supporting the content!
| Item | Why It’s Useful | Link |
|---|---|---|
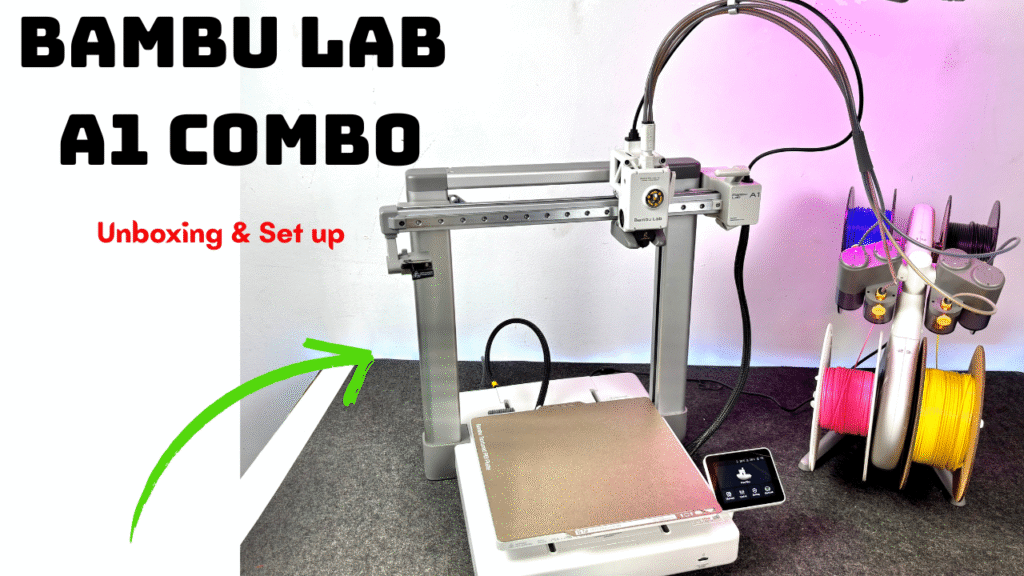
| Bambulab A1 mini | Easy to set up, affordable | Buy on Amazon |
| PLA Filament (Overture or eSun) | Easy to print, great for beginners | Buy here |
| Nozzle Cleaning Kit | Fix clogs fast | Check here |
| 3D Printer Tool kits | Essential tools for 3D Printing | Check on Amazon |
Frequently Asked Questions
Q: My first layer keeps failing. What do I do?
A: Re-level the bed, clean the surface, and re-check Z-offset. Don’t skip this.
Q: What filament should I start with?
A: PLA. It’s low-temp, easy to use, and doesn’t require an enclosure.
Q: Can I print from my phone or WiFi?
A: Only some printers support this. Most entry-level printers use SD cards.
Wrapping Up
Setting up your first 3D printer can be intimidating—but it’s also incredibly rewarding. The key is to take it one step at a time. Don’t rush. Don’t skip calibration. And always start small before going big.
Welcome to the world of 3D printing. You’ve just unlocked a new creative superpower.